Choosing Industrial Strength Rivets is not simply a matter of selecting the largest diameter or hardest alloy. The joint must survive load, vibration, corrosion, temperature, and installation variation. NASA’s Fastener Design Manual, NASA-RP-1228, emphasizes matching fastener strength with joint materials, stress direction, and hole quality. FAA Advisory Circular AC 43.13-1B also highlights correct edge distance, spacing, grip length, and inspection practices for reliable riveted structures. These details become tangible on the shop floor: a slightly oversized hole, a tilted mandrel, or a crushed sheet edge can weaken an otherwise excellent rivet.
Richard T. Barrett, author of NASA-RP-1228, stated, “A fastener is only as strong as the material into which it is installed.” That principle remains highly practical. Aluminum rivets may reduce weight and galvanic risk, while steel or nickel-based options may better tolerate heat and severe loading. Blind rivets improve access, but their clamp consistency and retained stem design require careful review. Solid rivets often deliver excellent fatigue performance, yet they demand suitable access and skilled installation.
The field is less tidy than a specification table suggests. Real assemblies contain surface damage, variable operator technique, and imperfect alignment. A dependable selection process should compare shear and tensile loads, joint thickness, corrosion exposure, fatigue cycles, and inspection access. ISO, NASA, and aviation guidance provide strong foundations, but they cannot replace engineering judgment. Before choosing Industrial Strength Rivets, verify the manufacturer’s test data, installation limits, material compatibility, and traceability. Small details matter. Often, they decide whether a joint merely holds or keeps holding.
Define the Load, Material, and Performance Requirements
How to Choose Industrial Strength Rivets?
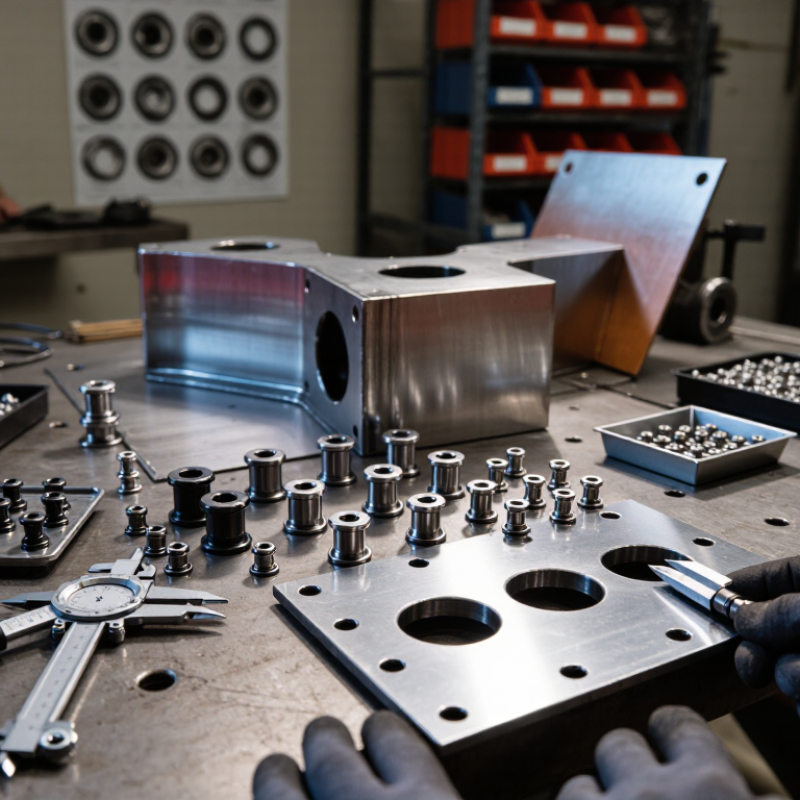
Define the load before comparing rivet sizes. Separate shear, tensile, peel, and vibration forces. A joint carrying a side load needs different attention from one resisting panel separation. Record peak force, repeated cycles, and the number of rivets sharing the load. Do not divide the load evenly without checking the joint design. Edge distance, hole quality, and uneven clamping can shift force toward one fastener. A small test assembly often reveals this problem quickly.
Material selection affects strength, corrosion resistance, and installation behavior. Match the rivet material with the joined sheets whenever practical. Dissimilar metals may create corrosion at a damp interface. Consider heat, moisture, chemicals, and outdoor exposure. Steel can suit heavy structural demands, while aluminum may reduce weight. However, lighter does not always mean suitable. Check the rivet’s shear and tensile data, not only its diameter. Confirm the grip range fits the total material thickness.
Performance requirements should include vibration, fatigue, pull-through resistance, and service temperature. Review technical data from controlled tests, then verify the result on representative panels.
I once focused on ultimate strength and overlooked repeated vibration. That choice looked acceptable on paper, but the joint loosened during testing.
It needed better clamping and a revised hole tolerance. Use calibrated installation tools and inspect the formed head, mandrel condition, and panel contact. Small details matter. Record failures honestly, including installation mistakes.
Compare Rivet Types, Sizes, and Head Designs
Choosing industrial-strength rivets starts with the joint, not the catalog. In field repairs, I check access, sheet thickness, load direction, vibration, and moisture before comparing sizes. Solid rivets provide excellent shear resistance, but installation requires access to both sides and proper bucking support. Blind rivets suit one-sided access, although their strength depends heavily on sleeve design, mandrel retention, and grip range. Tubular and semi-tubular rivets work well in lighter assemblies. They are not universal substitutes.
Rivet diameter should match the hole and expected load. A larger diameter is not automatically safer. Oversized holes can weaken thin sheet and create local distortion. Measure the combined material thickness, then choose a rivet whose grip range encloses it without forcing the joint apart. Allow the specified hole clearance. Too much clearance invites movement; too little can damage the shank during installation. I have seen failures caused by a correct-looking rivet with the wrong grip length.
Head design changes load distribution and surface finish. Dome heads tolerate minor installation variation and suit general structural work. Countersunk heads sit flush, but they reduce material around the hole and need accurate countersinking. Large-flange heads spread clamping force across thin skins. Check head diameter, underside contact, and tool access. Match materials carefully, especially in wet or dissimilar-metal joints. Use calibrated tools and inspect for gaps, tilted heads, cracks, or loose stems. Recheck the drawing when field conditions differ. Real assemblies are rarely perfect.
Select the Right Rivet Material and Corrosion Protection
Choosing industrial strength rivets begins with the working environment, not the rivet’s appearance. Stainless steel suits humid areas, outdoor equipment, and frequent cleaning. Steel rivets provide high strength, but exposed steel can rust quickly. Aluminum is lightweight and resists many atmospheric conditions. It may not withstand heavy loads or severe abrasion.
Material compatibility matters too. Dissimilar metals can create galvanic corrosion when moisture connects them. A stainless rivet installed into an aluminum panel may become a problem over time. Use compatible materials, insulating washers, or protective sealants where needed. Check the base metal, temperature, chemicals, and expected load before selecting the rivet.
Coatings offer another layer of protection. Zinc-based finishes can help steel rivets in moderate environments. Organic coatings may improve resistance against moisture and chemicals. However, a coating can scratch during installation. Seal the joint when water could enter behind the fastener. Keep drainage paths open.
I once treated coating as a complete solution. That assumption was too simple. Installation damage, trapped water, and poor storage can defeat good materials. Inspect sample joints after exposure to heat, salt spray, or cleaning agents. Look for staining, white corrosion, looseness, and edge damage. A practical specification should state the rivet material, coating type, service environment, and inspection interval. Small details often decide whether a joint remains reliable.
How to Choose Industrial Strength Rivets?
Select the right rivet material and corrosion protection by balancing mechanical strength, environmental exposure, and galvanic compatibility.
5052 Aluminum
Lightweight and naturally corrosion resistant. Suitable for moderate-load applications where low mass is important.
Low-Carbon Steel
High strength and economical, but requires zinc plating, paint, or another barrier coating to limit rust.
304 Stainless Steel
High strength with strong general corrosion resistance. Avoid direct contact with less noble metals where galvanic corrosion is possible.
Copper
Good conductivity and atmospheric corrosion resistance, but its lower strength limits use in heavily loaded joints.
Values show representative ultimate tensile strength for common base materials; actual rivet strength depends on alloy, diameter, temper, manufacturing process, and joint design. In wet or salt-rich environments, match the rivet material to the parent metals and use isolation washers or suitable coatings when galvanic corrosion is a concern.
Match Rivet Installation Methods to Equipment and Access
How to Choose Industrial Strength Rivets?
Rivet installation starts with access, not strength. A solid rivet needs tool access on both sides of the joint. That suits open frames, brackets, and removable panels. Blind rivets work from one side, making them practical inside tanks, ducts, and assembled cabinets. Access decides everything.
NASA Reference Publication 1228 identifies hole quality, material fit, and installation control as major influences on joint performance. Therefore, measure the hole diameter and grip thickness before choosing a rivet. A rivet with an incorrect grip may leave a weak tail or crush thin sheet. It may look acceptable. It may still fail under vibration. FAA AC 43.13-1B also emphasizes correct hole preparation, shop-head formation, and visual inspection for structural fastening work.
Self-piercing rivets need matched dies and controlled sheet stacks. They can reduce pre-drilling, but equipment setup becomes critical. Threaded blind inserts offer access advantages, yet they are not a direct replacement for load-bearing rivets. ISO 14589:2019 uses tensile and shear testing to assess rivet performance, reminding engineers that published strength values need installation context.
In practice, I would inspect the tool nose clearance first. Then check material compatibility, grip range, and expected vibration. A compact hand tool may reach the joint, but it may not deliver consistent setting force. That detail is easy to miss. My own preference for blind rivets is not universal; poor backside access can hide incomplete setting, and visual checks alone may be insufficient.
Verify Strength, Fit, Quality Standards, and Service Conditions
How to Choose Industrial Strength Rivets?
Choosing industrial strength rivets starts with verified performance, not appearance. Define the expected shear and tensile loads before selecting a material or diameter. A rivet may look robust yet fail when vibration repeatedly stresses the joint. Check its published strength values, test methods, and safety margin. Do not rely on a catalogue image.
Fit is equally important. Measure the drilled hole, material thickness, and total grip range carefully. The rivet body must fill the hole without forcing the surrounding material apart. A short rivet may leave an incomplete lock. A long one can create an uneven, weak setting. I have seen minor measurement errors become costly rework. That part deserves more attention.
Quality standards provide useful control. Request traceable batch information, dimensional tolerances, and inspection records. Confirm that the rivet meets the specification required for your equipment or industry. Then examine service conditions, including moisture, salt exposure, heat, chemicals, vibration, and maintenance access. Select compatible materials to reduce galvanic corrosion between joined parts. Test sample assemblies when the application is critical. Real assemblies can behave differently from calculations. That is an uncomfortable detail, but it matters. Recheck installation tools, setting force, and operator technique before approving production.
FAQS
Choose based on access first. Solid rivets need tool access on both sides. Blind rivets work from one side. Use solid types for open frames and brackets. Use blind types inside ducts or assembled cabinets. Strength alone does not decide.
Match the diameter to the prepared hole and expected load. A larger rivet is not automatically safer. Oversized holes can weaken thin sheet. They may also cause local distortion. Measure carefully.
Grip range covers the combined thickness of joined materials. Measure every sheet, washer, and spacer. The rivet must cover this thickness without forcing the joint apart. Wrong grip length can leave a weak tail.
Large-flange heads spread clamping force across thin surfaces. Dome heads tolerate small installation errors. Countersunk heads create a flush surface. However, countersinking removes material around the hole. Use it carefully.
They may weaken thin material around the hole. They also require accurate countersinking. Check the remaining sheet thickness. A flush surface may not justify the reduced local strength.
Check access, hole diameter, material thickness, vibration, and moisture. Inspect tool nose clearance. Confirm material compatibility, especially with dissimilar metals. Small details matter.
Not always. They require matched dies and controlled material stacks. Equipment setup strongly affects the result. Test the joint before wider production. The shortcut may become a complication.
Look for gaps, tilted heads, cracks, loose stems, and uneven contact. Check the shop-head shape where visible. Visual inspection may miss incomplete setting. Recheck the drawing when field conditions change. Assemblies are rarely perfect.
Conclusion
Choosing Industrial Strength Rivets begins with understanding the joint’s real operating demands. Define the expected load, vibration, temperature, material combinations, and service environment before selecting a fastener. Compare rivet types, diameters, lengths, and head designs to ensure the joint has adequate grip range, load distribution, and clearance. The selected rivet should suit the thickness and strength of the materials being joined without creating unnecessary stress or deformation.
Material selection is equally important. Consider corrosion resistance, galvanic compatibility, and any protective coating required for moisture, chemicals, or outdoor exposure. Match the installation method to the available tools, equipment, and access conditions, especially when only one side of the assembly is reachable. Before approval, verify the rivet’s fit, shear and tensile performance, dimensional accuracy, and applicable quality standards. Finally, evaluate the complete joint under realistic service conditions, including maintenance needs, temperature changes, vibration, and long-term wear. A careful, requirements-based approach improves reliability, safety, and service life.

 BSF